Partial Die Cutting
I’ve been experimenting with the partial die cutting technique and below are the two cards I’ve made. The cards are slightly different from each other in that the featured image on the one on the left “flips” when it opens out and the one on the right doesn’t.
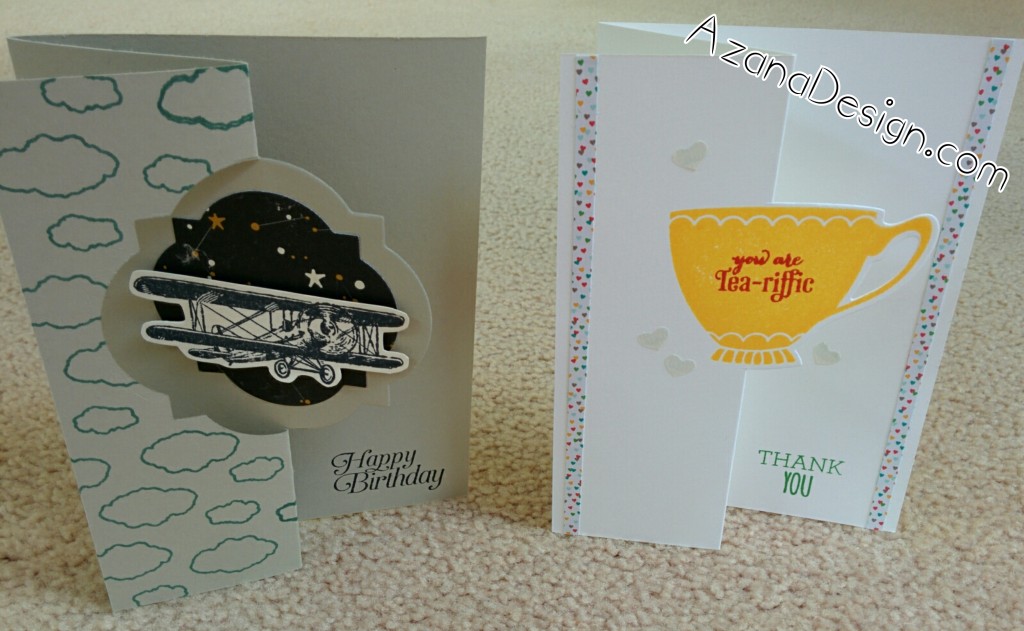
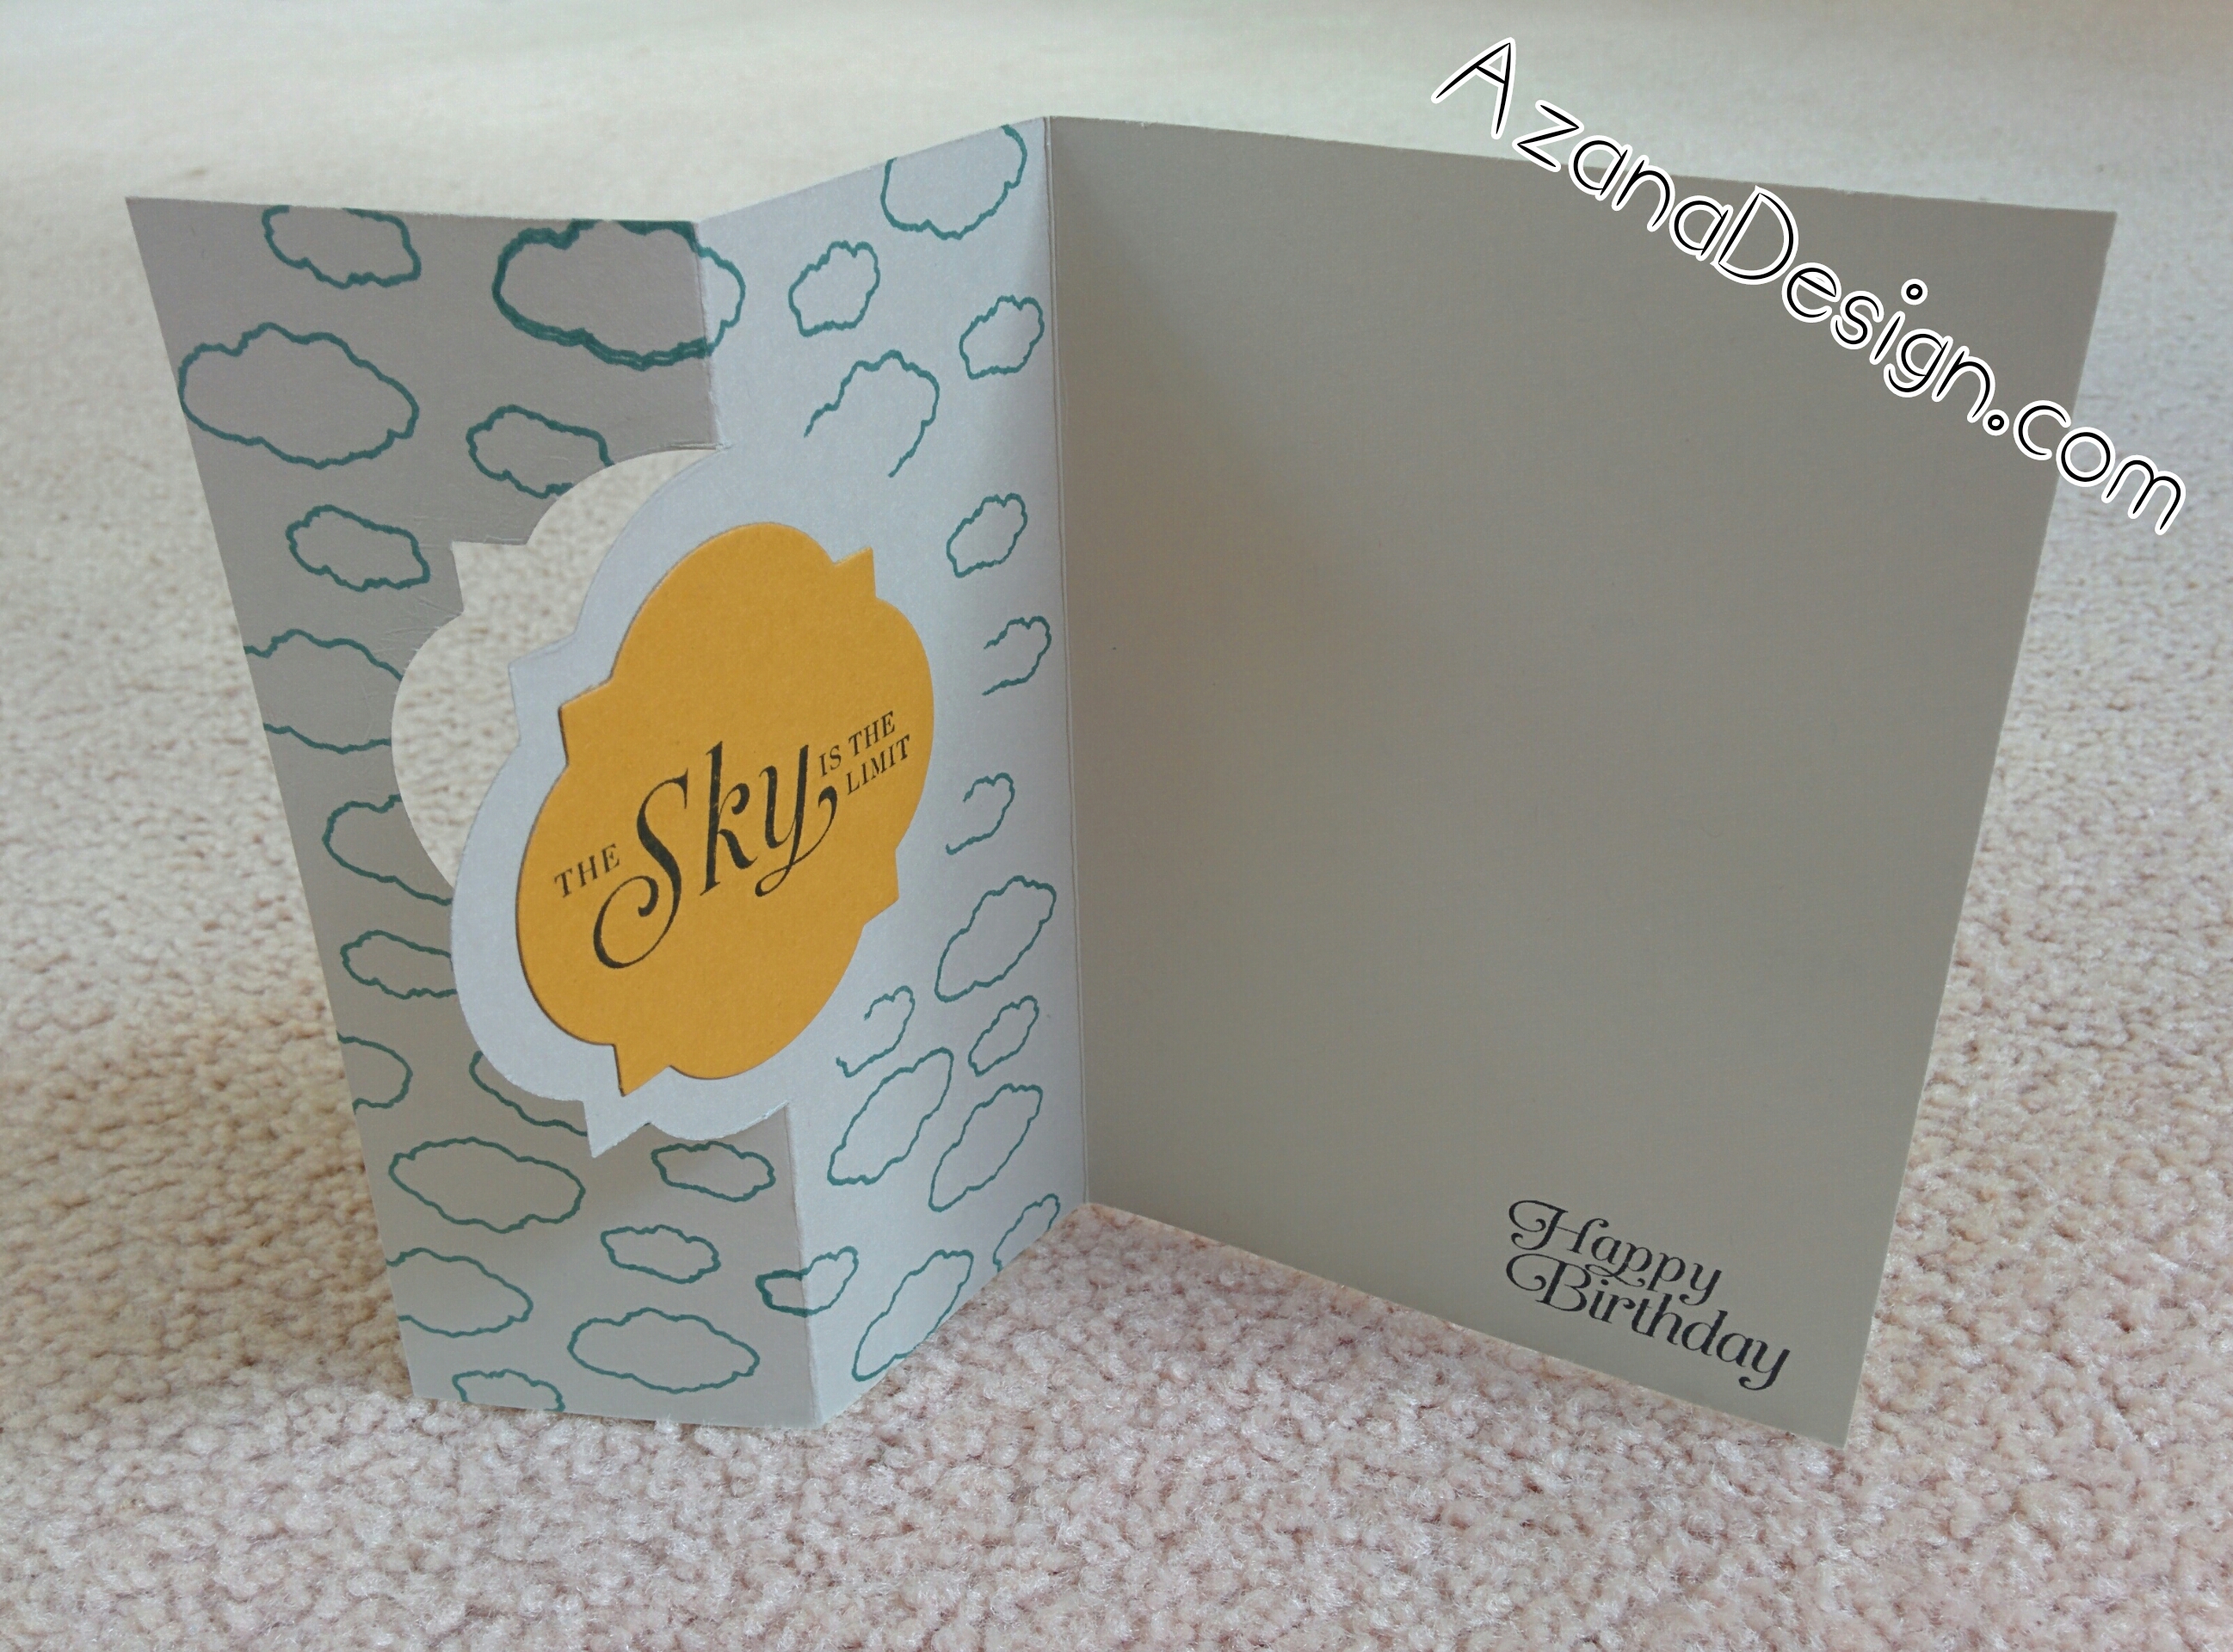
Opened view of the birthday card. The bi-plane image has flipped to reveal a second image when the card is opened. This card uses the new Sky is the Limit stamp set which is available now for FREE during Sale-a-Bration with a qualifying order. This stamp set goes together well with the Going Places DSP stack and I can see a lot of masculine cards being made out of these items. This card is made from Sahara Sand and Delightful Dijon cardstock. The sentiments are stamped with Memento Black and the clouds have been stamped with Lost Lagoon.
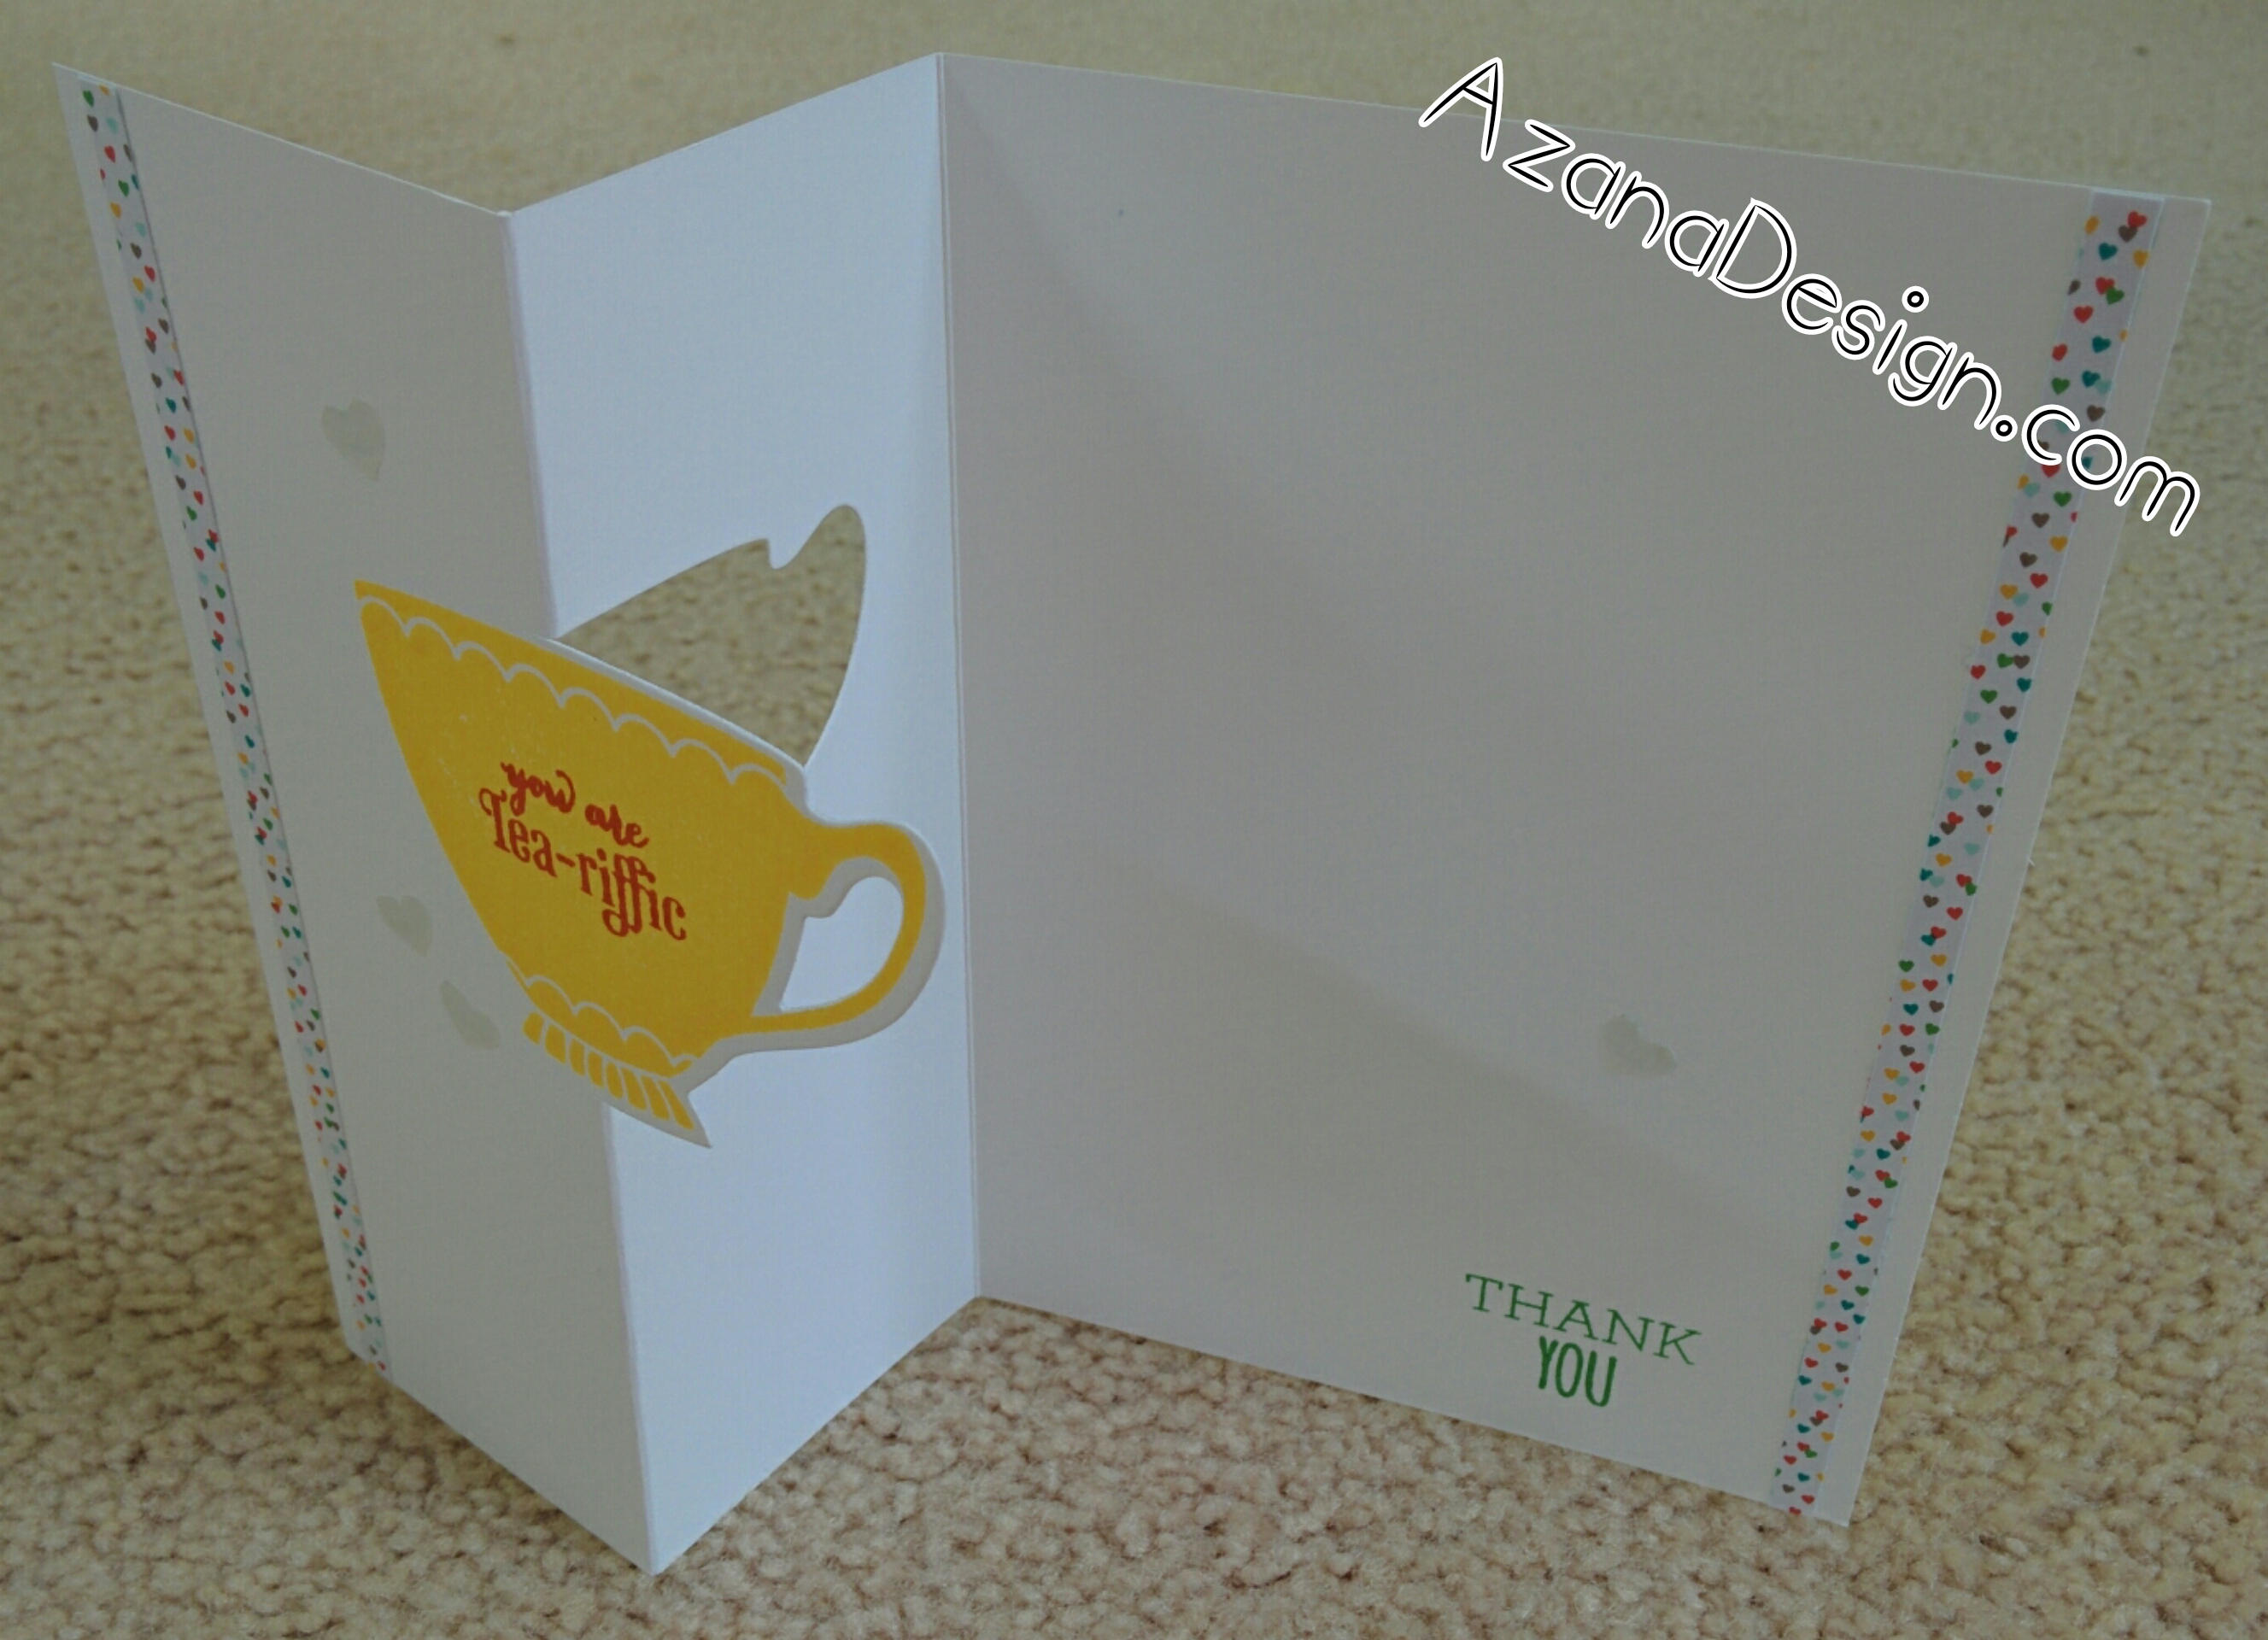 Opened view of the thank-you card. The featured image on this card doesn’t flip like the one above, you can still see it when you open the card. The tea cup and sentiment are from A Nice Cuppa stamp set and matching Cups & Kettle Framelits Dies, both in the new Occasions Catalogue. The little love hearts dotted about have been punched from the Botanical Gardens Designer Vellum Stack using the Hearts Border punch. This stack is another Sale-a-Bration freebie with a qualifying order. The two strips of DSP on the edges of the card are from the Cherry on Top stack which is also where the cards colour palette comes from.

This image shows how I made the thank-you card. The card base is scored in the middle in the usual way. A vertical pencil line is then drawn on the left hand panel down the middle of the panel. The tea cup die (which has its centreline marked) is then lined up with the pencil line. When assembling your Big Shot sandwich, the top cutting plate is also lined up to the pencil line on top of the side of the tea cup you want to cut, the handle side. You may be able to see from the image (click on it to get a larger view) that my top cutting plate is actually about 2 mm above the pencil line. I found that the pressure from running the sandwich through the Big Shot will cut an extra few mm of the die so moving the top cutting plate that 2 mm away means the die will cut up to the line and not beyond it.
After rubbing out the pencil line and stamping the images, score the card using the trimmer. Line up the trimmer to where the die cut finishes (where the pencil line used to be) and use the scoring blade or a bone folder through the trimmer guide. The card is then folded into a zig zag.
 This final image shows the difference between the two cards – it’s the side of the die which is cut using the Big Shot.
The thank-you card has the die cut on the right hand side of the vertical score line whereas the birthday card has the die cut on the left hand side of the score line.
The birthday card is made using the same technique as described above with the exception of cutting the left hand side of the die, causing the image to “flip” when the card is opened.
These cards are a lot of fun – both to make and to receive!
 About Astrid Bealing
I am an Independent Stampin’ Up! Demonstrator from Brisbane, Australia. I’ve always loved all things craft and finally taken the leap into demonstrating the wonderful products Stampin’ Up! sell, which I’ve been using since 2010.
I will be posting my Stampin’ Up! projects here to inspire you. I also hold monthly card and paper craft workshops from my home in Eight Mile Plains, and sell product Australia wide.