My First Class
My First Class
I had my first card workshop yesterday and it was so much fun! Four ladies came along and we made two projects: a thank-you card and a birthday bookmark. It was great to share my love of card-making with others and of course to introduce them to the lovely Stampin’ Up! products. There were nods around the table when I asked if they would come back for another card making session so I shall it a success.
thank you card
I chose this card to showcase some simple and fun techniques. It uses one of my all-time favourite stamp sets: Four Frames. I just love this set and I use it a lot! It’s great for cards and has so many other uses such as labels for my storage containers and gift tags for presents. Much to my friend’s relief at the card class, it comes with a coordinating punch (Decorative Label punch) so you don’t have to cut it out yourself. Punching out stamped images is so quick and easy and definitely loads of fun.
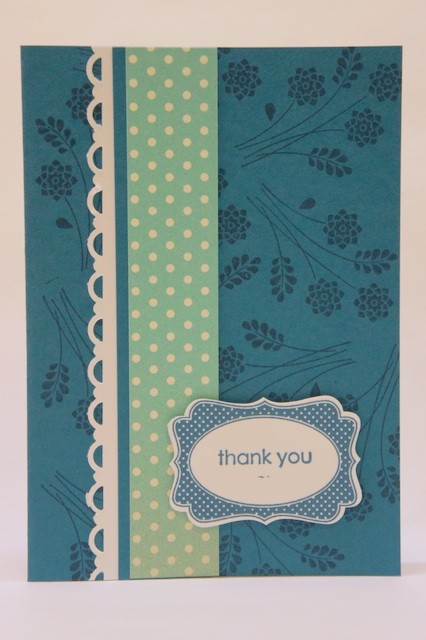
I’ve also used the Embellished Events stamp set for the background image and thank you sentiment. This is one of those really versatile sets as you can use it for so many occasions. Well worth investing in.
The main cardstock and ink for this project are Island Indigo and the decorative edge (punched using the Scallop Trim Border punch) and the framed sentiment have been done on Whisper White. I’ve used some contrasting designer series paper in Coastal Cabana from the Afternoon Picnic set. During the class though (I was a bit nervous) and whilst putting the layers together for the top of the card, I put the snail adhesive onto the Coastal Cabana side of the paper, which of course meant I had to stick it with that side face down. But the end result was still very nice – one of the great advantages of a set of products and colours that just goes well together!
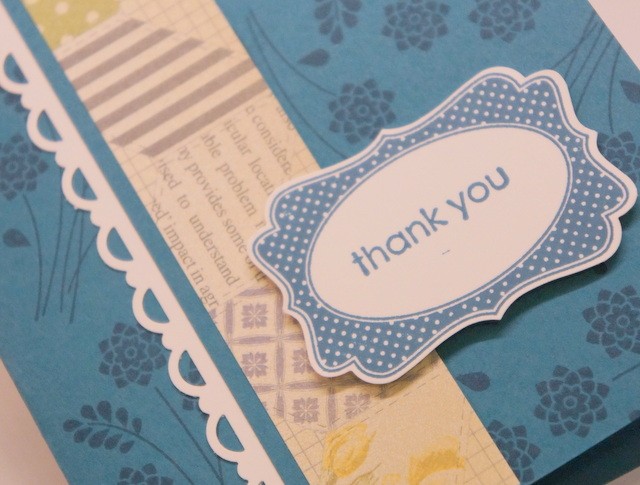
I also didn’t manage to get the thank you stamp down straight, I accidentally rocked it a little bit, which is why it looks slightly underlined. Or I should say… I slightly rocked the stamp a little to make it looked underlined! You can’t really make a mistake, it’s all creative license!
The framed sentiment is stuck down with some Stampin’ Dimensionals to give it some lift off the page. And that was it, our first project done!
I’ll share our second project, the birthday bookmark, soon.
 About Astrid Bealing
I am an Independent Stampin’ Up! Demonstrator from Brisbane, Australia. I’ve always loved all things craft and finally taken the leap into demonstrating the wonderful products Stampin’ Up! sell, which I’ve been using since 2010.
I will be posting my Stampin’ Up! projects here to inspire you. I also hold monthly card and paper craft workshops from my home in Eight Mile Plains, and sell product Australia wide.