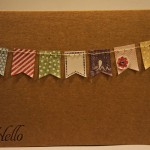
Butterfly Fold Card
How cute is this little card!? The style is called “gate-fold” or “z-fold” or sometimes even “double z‑fold”! I love butterflies and this is a great way of using the Elegant Butterfly punch – this technique will also work with any other symmetrical punch or framelits dies teamed up with their coordinating stamp.

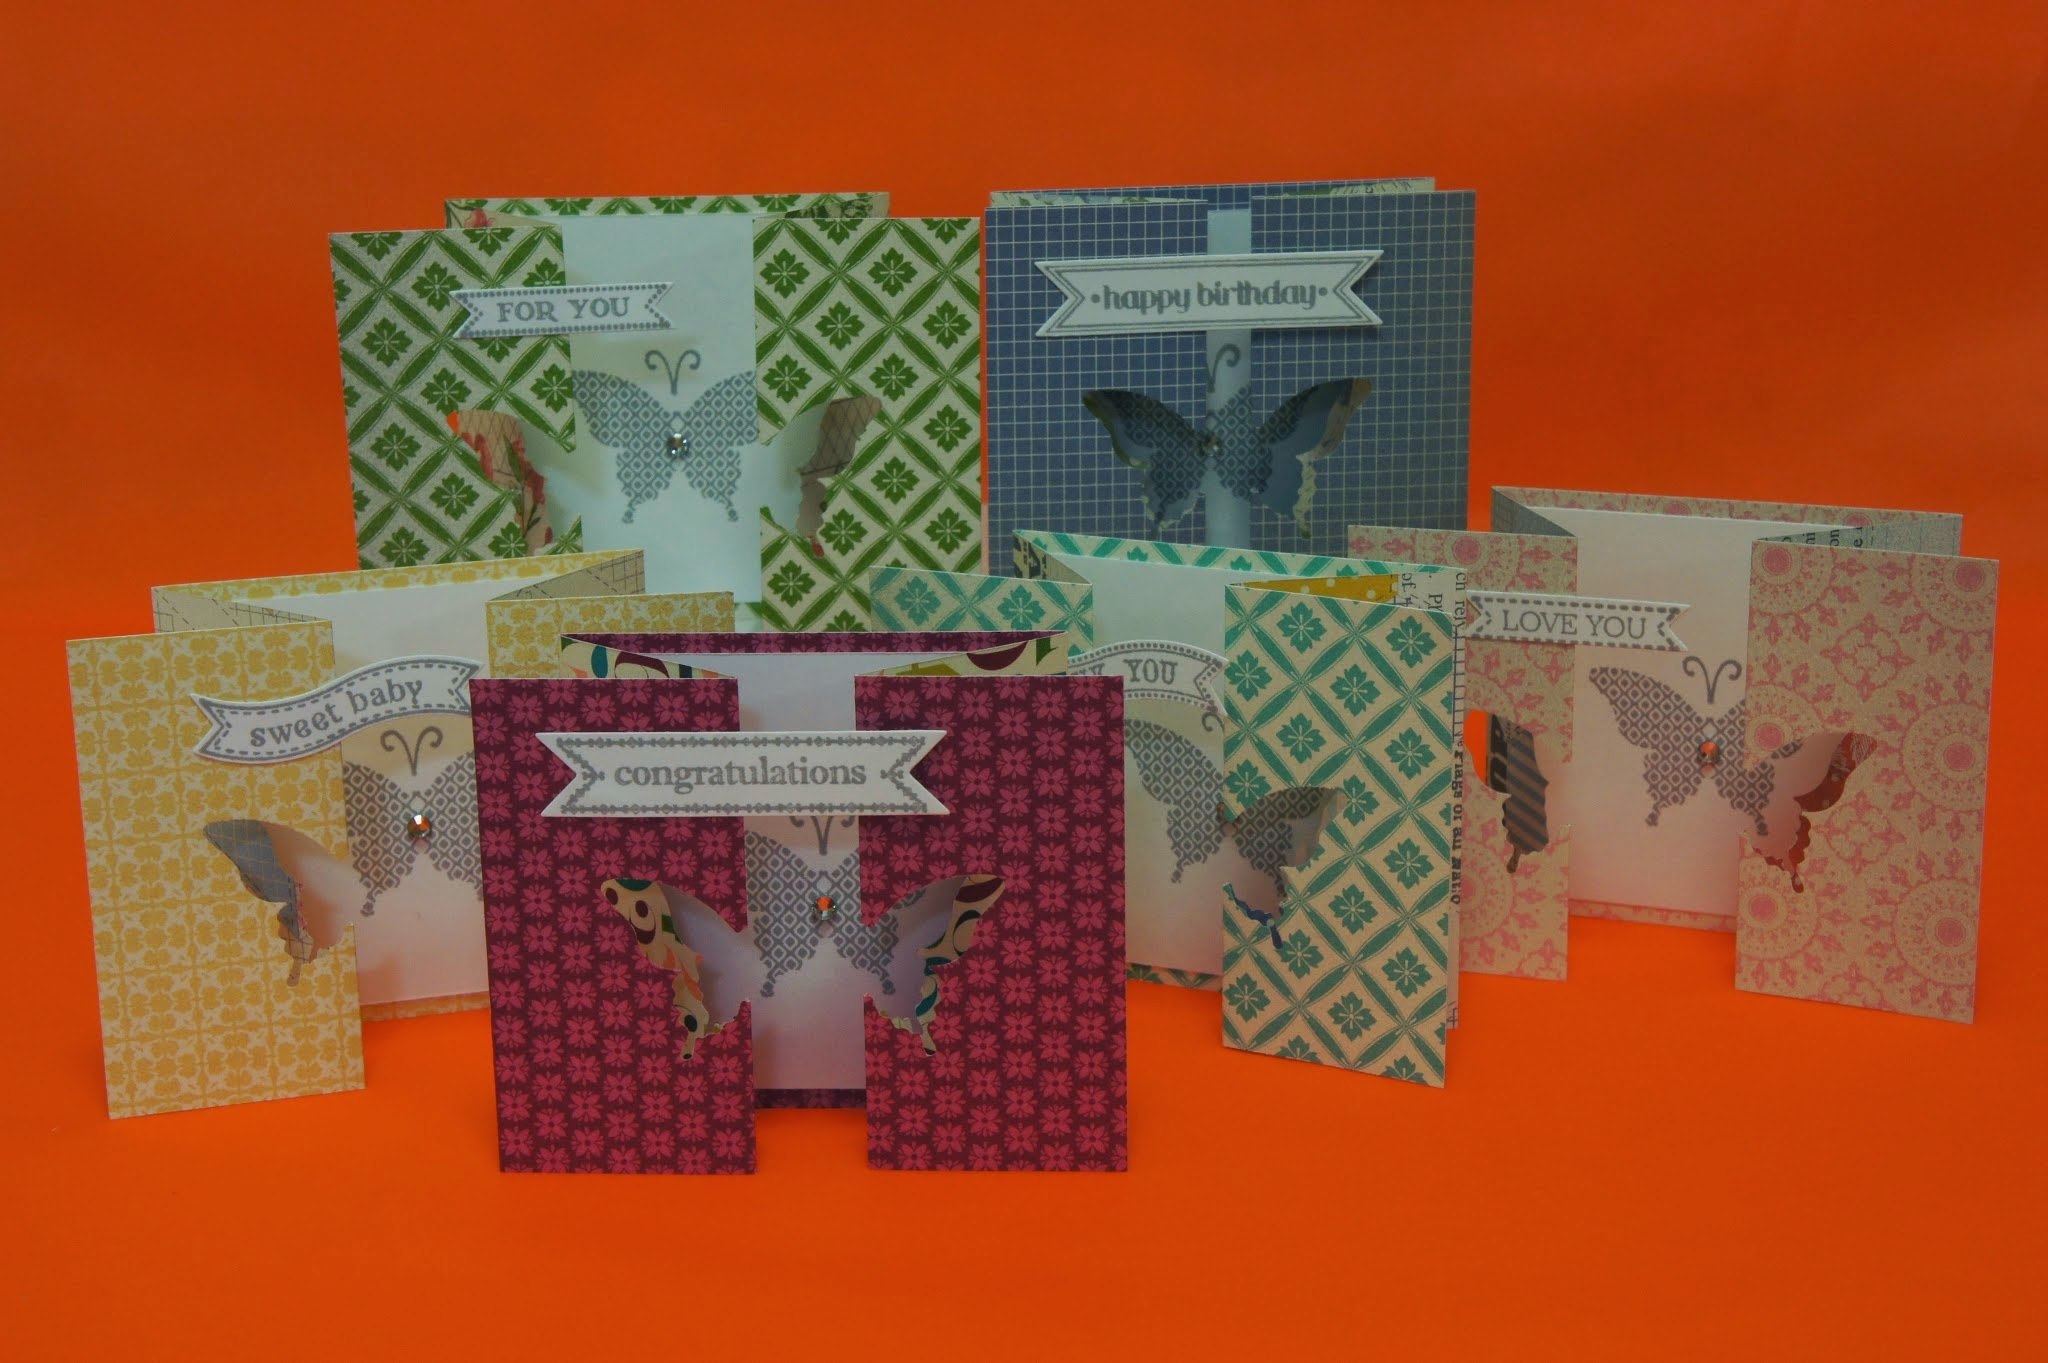
I made a bunch of these as samples for a card class. I went through all my DSP packs and picked sheets which weren’t too busy so the butterfly and sentiment weren’t lost in the design. The butterfly and sentiment were stamped using Smoky Slate onto Whisper White.
The sentiments are from the Itty Bitty Banners stamp set and these co-ordinate with the Bitty Banners Framelits Dies.
The card is made by cutting the DSP to 9” by 3” (you can make four of these cards from one sheet of DSP). Score at 1 ½” and 3” from each end to create the “double z-fold”.
Stick Whisper White square into centre third. The centre third (and final dimensions) of the card will be 3” by 3”. The Whisper White square is slightly smaller at 2 ¾” by 2 ¾” to leave some of the DSP showing around the edges.
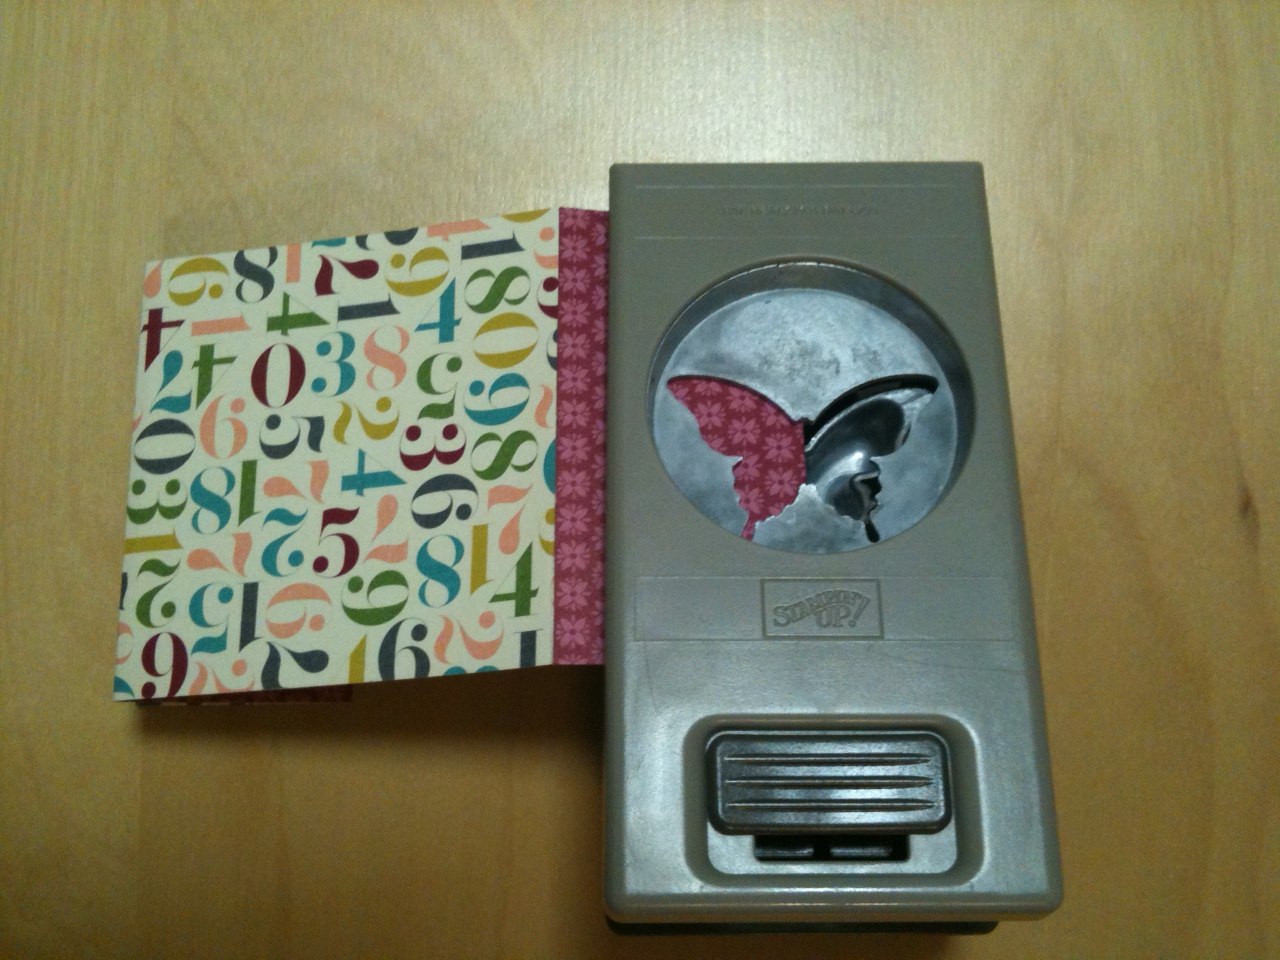
To punch the butterfly out of the card: insert the left “z-fold” midway into the punch (from the left hand side) as shown. Here the DSP is fully inserted till it touched the bottom of the punch to use this as a natural marker so both sides line up. Repeat for the right hand side.
The stamped butterfly image, from the Papillon Potpourri set, is stamped using the aid of the Stamp-a-ma-jig to position the stamp perfectly. I found it handy to make sure that the clear-mount stamp is toward the top left corner of the block (top right side when you’re mounting it) to ensure you can still fold the card closed to line up the image. I also used the Stamp-a-ma-jig to line up the antenna although getting that exactly lined up wasn’t that crucial. Half stick your chosen sentiment to the left hand side of the card after cutting it out in the Big Shot and that’s it! Oh and don’t forget the bling.
I’ve not tried it but you could also use framelits to cut out your chosen shape instead of a punch. I imagine you’d need to use the Stamp-a-ma-jig first to stamp the image onto the closed card. Then open the card and run it through the Big Shot twice, once for each side lining up the framelit over half the image each time, the way we did with the punch.
 About Astrid Bealing
I am an Independent Stampin’ Up! Demonstrator from Brisbane, Australia. I’ve always loved all things craft and finally taken the leap into demonstrating the wonderful products Stampin’ Up! sell, which I’ve been using since 2010.
I will be posting my Stampin’ Up! projects here to inspire you. I also hold monthly card and paper craft workshops from my home in Eight Mile Plains, and sell product Australia wide.