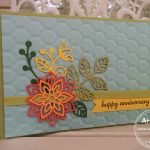
Delicate Details
I made this card for a team swap last month using one of this years free Sale-a-Bration items – Delicate Details – to make the border around the card. This set of five photopolymer border stamps are beautifully lacey and intricate and can be used to create layered backgrounds or lacey edges around sentiments. Being photopolymer stamps you can bend them, so they can edge oval and circle sentiments too, not just straight lines!
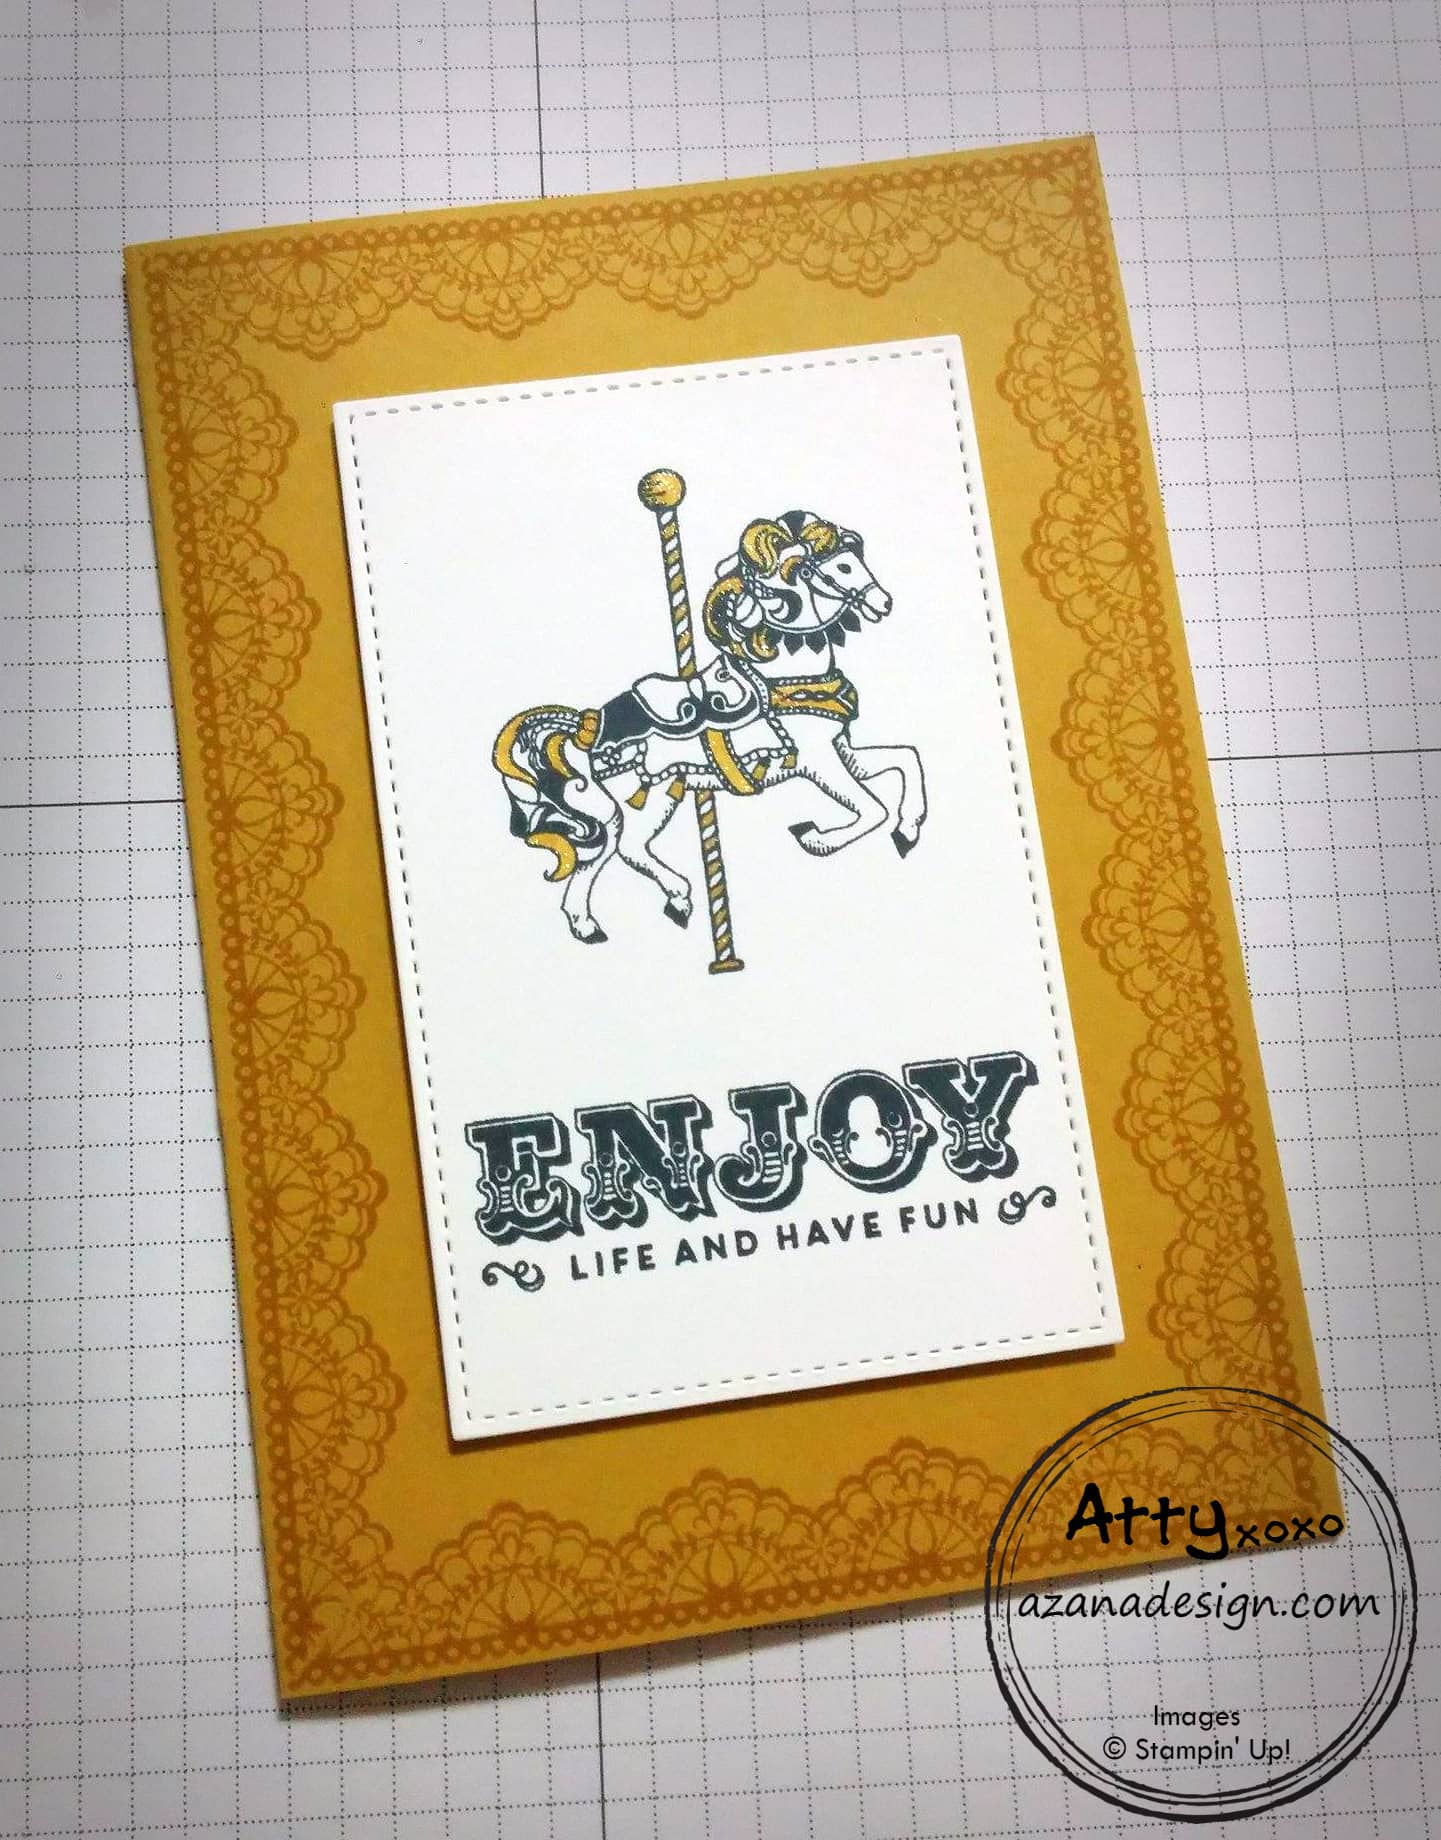
I’ve teamed the Delicate Details with my favourite stamp set from the Occasions Catalogue – Carousel Birthday. The sentiment however is from another great stamp set called Suite Sentiments – it has greetings and phrases that coordinate with every suite in the Occasions Catalogue. They can of course also be used on their own and cover some great occasions throughout the year such as graduation and Easter. I love the phrase on this card… Enjoy life and have fun!
The border is created by masking the corners of the card with post-it notes cut at 45° (start with a square post-it note and cut across the diagonal to get two masks with 45° corners). Continue masking the corners as you go around each edge of the card. The photopolymer stamp makes it so easy to line up the image as you can clearly see through it. The long edges of the card are longer than the stamp, so I used a bit of scrap paper to make sure that when I lined up the stamp to make the next image, I didn’t mess up the image already stamped.

I used the Stitched Shapes Framelits to cut out the Whisper White cardstock for the sentiment – it leaves this pretty edge on the cardstock that looks like it has been stitched. The set of framelits includes ovals, circles and squares so it’s a very versatile set – but you can also create rectangles using the square framelits and the partial die cutting method.

I positioned the framelit so it was just hanging over the edge of the Big Shot platform and ran it through. This cuts three edges of the square framelit and this is how you lengthen it to make a rectangle. I made a pencil mark further down the cardstock where I wanted to place the framelit the second time to make the rectangle – being a stitched framelit you can also feel through the stitches or notches to make sure the framelit is lined up correctly on the cardstock. I again positioned the framelit so the edge was just hanging over the Big Shot platform and ran it through – this cuts the remaining three sides and creates a beautiful stitched rectangle.
I coloured selected parts of the carousel horse using my blender pen – I used a clear block to transfer some ink from the ink pad and then used this as my palette for the blender pen. I then went over the coloured in parts with my clear Wink of Stella, you can just about see the glittering in the picture.
There are only a few days left to get your Sale-a-Bration freebies for this year so if you like the Delicate Details stamp set, head to my online shop and place your $90 order now to get this for free!
 About Astrid Bealing
I am an Independent Stampin’ Up! Demonstrator from Brisbane, Australia. I’ve always loved all things craft and finally taken the leap into demonstrating the wonderful products Stampin’ Up! sell, which I’ve been using since 2010.
I will be posting my Stampin’ Up! projects here to inspire you. I also hold monthly card and paper craft workshops from my home in Eight Mile Plains, and sell product Australia wide.